Showing posts with label colouring cloth. Show all posts

Monday, 18 July 2011

All Tied Up.

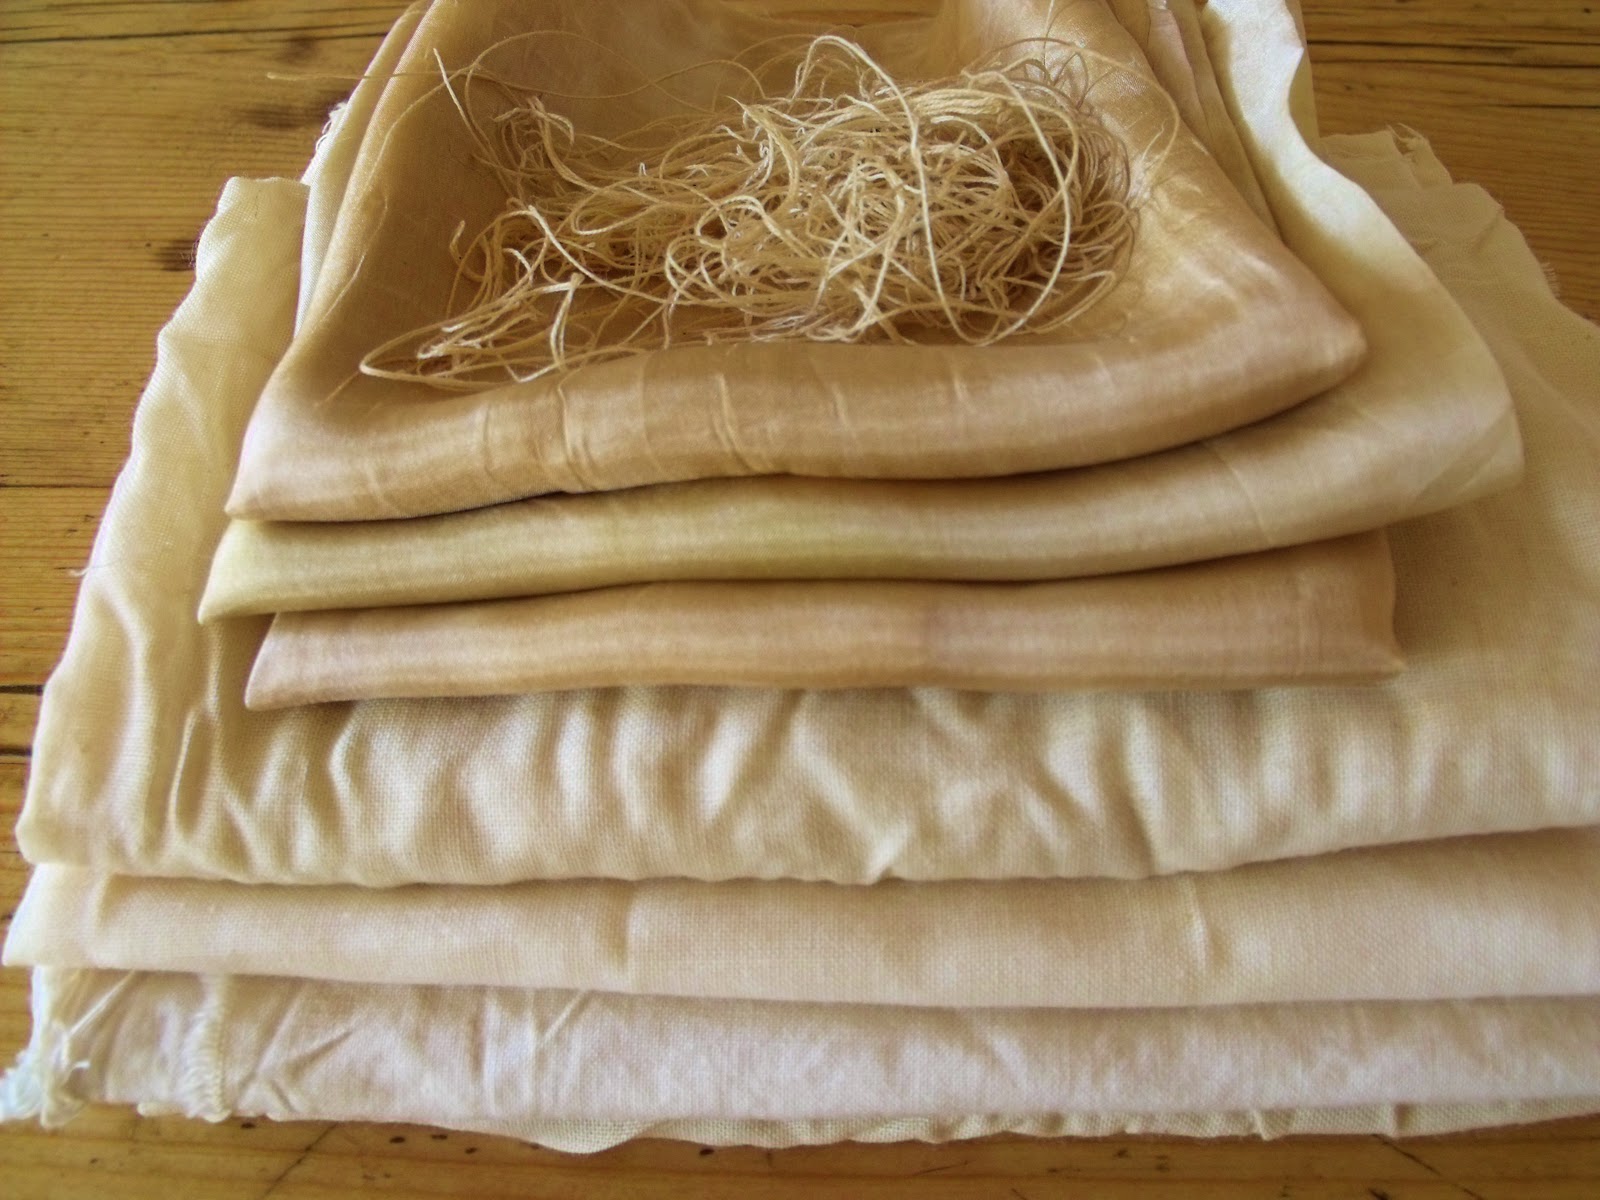
The next two workshops coming up in August at Studio 15 are Stitch and Tie to Dye and Indigo, favorites of mine. Years ago I got into dyeing and patterning cloth because I didn't have the cash to buy the amount of different fabrics I needed to work, so I bought inexpensive calico, muslin, scrim, old cotton bed sheets etc. I soon became addicted to this way of working using every method I could to produce individual designs and colours. When you adopt these processes your cloth is unique and you won't see it anywhere else. I became increasingly fascinated by the beautiful cloths produced across the world using simple techniques to make complex designs and researched as many as I could find, clamping, stitching and tying were included.

Cloth 'tied' with rubber bands and the resulting pattern after dyeing in Indigo.
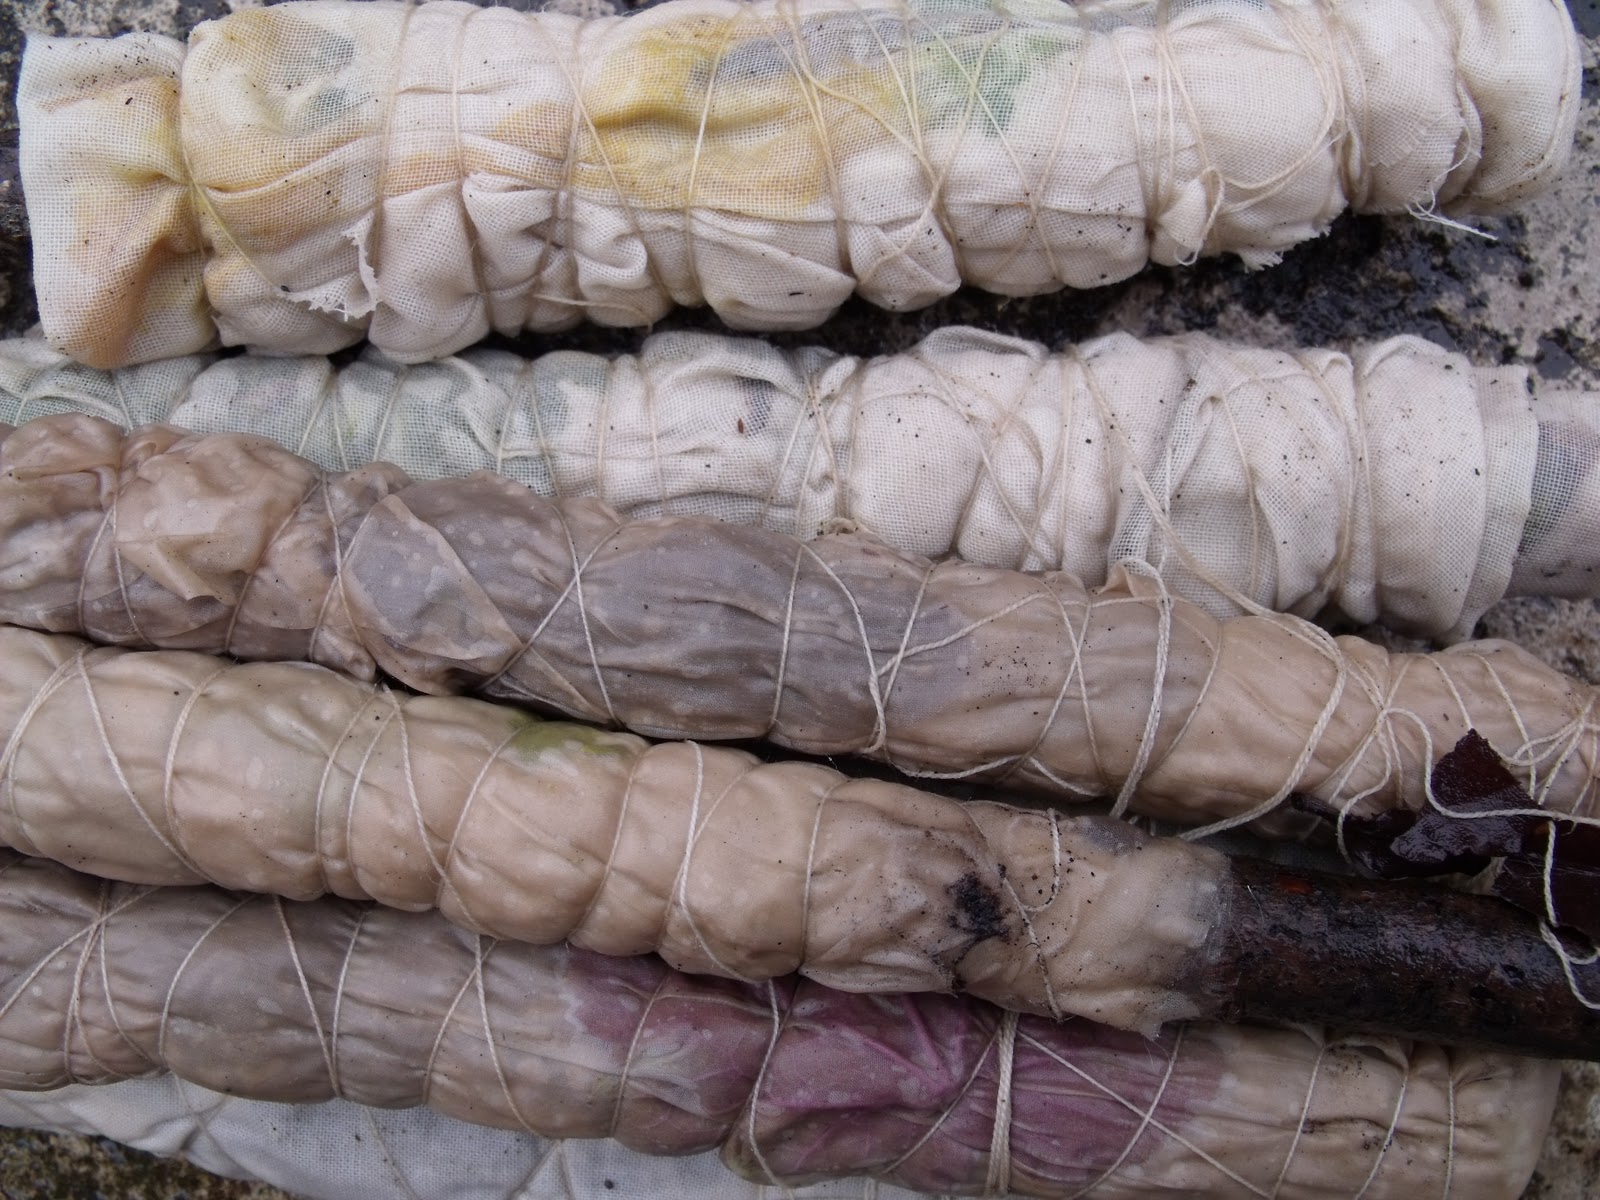

Stitching to dye.

Target tied cloth and the resulting pattern.


The beauty of a complex stitched and tied cloth.


Wonderful, beautiful Shibori cloth.

BOOK NOW via the STUDIO 15 website if you want to learn with us.
Thanks.

Friday, 1 July 2011

Indian block printing.

I have always enjoyed printmaking, although time consuming the results are always very individual.


A traditional block printed Indian design.


and the hand carved wooden blocks used in the printing process.

Below is a short video about the printing process in India.


If you are interested in this subject and you don't know about much about it, I suggest that you look at the work of Dorothy Larcher and Phyllis Barron, Susan Bosence and Enid Marx to name but a few. These names were some of the top printmakers of their era in the UK and well worth researching. It was felt when Susan Bosence died in 1996 at the age of 82 (the last of the group) that it was the end of an era. I remember reading her obituary in the Observer newspaper, but, although time consuming this type of printmaking is having a bit of a revival recently, there are many contemporary artist producing fine work.


Beads.


Citrus.


Reverse sweetpea.


Smokebush.

I found these lovely hand printed fabrics from a firm in Philladelphia USA. www.galbraithandpaul.com  I think the designs are simple but very effective.


Have a go yourself, I found this and think it is a good starting point.

Monday, 4 April 2011

Bundles of fun.


Last weekend - before I boiled them up.


Well this weekend was the ceremonial unbundleing if that's a real word! I had a sneak peek last weekend, they didn't really seem to be doing much, not the results that I wanted. So I decided to boil them up to release some more colour. I'm not hopeful as the cottons seem very pale although the silks seem to have taken up more colour.
                                                                                                  
I had a lovely visitor to cheer me up and then he was gone! A beautiful young woodpecker.

The bundles after boiling and the bundles after leaving for a while longer.

Boiling them up seems to have released quite a lot more of the dye but I still think the colours will be quite pale. Looking at the wet bundles it seem that most of the colour has come from the walnut leaves.

The wet cloths, leaves and bark removed and rinsed in cold water.


These are the dry cloths fresh from the line, they are pale but I like the softness of the colour, delicate like the spring growth that dyed them.


Traces of leaves like a ghost on the cloth.


Traces of the thread that wrapped up the bundle.


In summing up the process I'm not sure whether it is the time of year or the lack of enough dye material (or patience) that caused the cloths to be so pale. I have done a lot of stove top natural dying with good results but that process uses a large quantity of dye material. The amount was quite small that I used here due to the time of year and scarcity of material. I am pleased with the silk which always dyes with a stronger colour whatever method of dyeing you use but the cottons have hardly coloured at all. I will repeat the exercise again throughout the year to compare results.It would be great if cloth can be dyed here in this climate in an eco friendly way with out the use of the stove, we will see, if not there is always solar dyeing and compost dyeing as the year warms up. 

Thursday, 24 March 2011

Bundling things together


Fabric, sticks and bundles.

The weather here has been really good this week so I thought that I would use the opportunity to investigate some different ways of colouring cloth. I gathered together a selection of natural fabrics, silk and cotton mainly, I then went and collected some sticks, dead leaves, fresh leaves and flowerheads. Half of the surface of the cloth was covered with the leaves and then I folded the rest of the fabric over them.


I love wrappings and bundles so these really appeal.

After I had folded the fabric over the leaves I rolled it around a stick and wrapped it tightly with strong thread, I'm wondering if I will also get a resist pattern from the thread. As it is quite early in the year I don't know whether I will get any colour at all, we will have to see but I really love the surprise of this sort of dyeing.  If it doesn't work I will just redye it another time, no problem.


The cloth bundles in the water.

Finally I poured boiling water over them and will leave them to stew away, by stew away I don't mean that you boil them, just leave them in the water for a time. I will probably leave them for a few days before I have to have a peep, hopefully they will have released their dye, the hot water should have helped this process. I'm also wondering if colour will be released from the sticks, we will see.


Lovely, wet, wrapped bundles, they look good enough to eat!

I'm enjoying the way that that the water has made the cloth translucent and you can see the leaves inside, the magic begins-well fingers crossed.

Every production of an artist should be the expression
of an adventure from their soul.
W.Somerset Maugham.

Sunday, 23 January 2011

Solar dyeing how to!

Collect together some jam jars, the bigger the better.

Fill with water and then add your chosen dye materials. Use just one type per jar.
Flower petals or leaves, roots, bark, onion skins etc

Scrunch up your small pieces of fabric, different types of fabric will take the dye up in different ways.
Silk will dye with a stronger colour than cotton,  natural fabrics and threads are the best type to use.
Synthetics will only dye a very pale colour if at all and must have some cotton content in the weave.

Squash into the jars with the dye stuff and place on a sunny windowsill or greenhouse,
leave for a few weeks or months until the cloth is the colour you require.


TIPS
As the weather doesn't get very hot where I live I often start off with hot water to speed things up.

Always make sure the fabrics have been washed to clean them of the dressing.

The fabrics can be added wet or dry, wet the fabrics before placing in the jar for a more even dye.
Stir them around every now and then.

Wrap some of the dye materials in with the cloth for a more mottled effect.

In the winter the jars can be left on a radiator.

Threads can be dyed as well as fabrics.

The dye residue can be used for artwork as an ink.

Finally, these dye jars can get very smelly and often go mouldy (that's fine!) but placing lids on the jars can help with this.

Friday, 21 January 2011

Solar dyed fabrics.


Brown onion skin and ivy dyed fabrics.

I was so pleased with the results of the solar dyeing especially as I used a mix of  recycled fabrics. This technique is a sustainable way of natural dyeing using no form of energy other than the sun.It uses no nasty chemicals that you have to dispose of, all of which is a big environmental plus and something that, in my opinion, artists and crafts people should become more aware of. Best of all the dyes are free and freely available with a bit of effort on your part.

Logwood and Peony dyed fabrics. 
Although Logwood doesn’t grow here (cheating I know!) I used bark that I had hanging around to obtain the deeper purple.The staining on the cloth comes from wrapping some of the peony petals in the bundles, where they touch the cloth they leave a darker mark, sometimes if your lucky you will even get the shape of the petal.


Walnut and red onion skin dyed fabrics.

The dyes that I used were not mixed together in the jar, they were dyed separately,I have just grouped them together as they look so beautiful. I am writing out the instructions for solar dyeing, which you must understand is not an exact science, it all depends on the heat, length of time you leave them, water etc.For those of you who want to give it a try, I will post them in a few days. Enjoy! 

Sunday, 16 January 2011

A tiny act of random interference.


Solar dyeing 2010 

This blog is a  way for me to capture and explore ideas, a creative journal of that process.It is also about the sharing of knowledge, working as a tutor and full time artist, and my projects.The things that inspire me I hope will be of interest as I share them with you.I am new to blogging but invite you to join me on my journey, comment on my progress and be inspired in some way by what you find here.

 Solar dyeing 2010.
These look like sunshine in a jar, such a beautiful thought in the middle of winter.I have been using these dyed fabrics for  projects that I am starting,but more about those next time.

I am always doing that which I can not do,
in order that I may learn how to do it.
Pablo Picasso.